Piccadilly Dolly Encore Customize Process
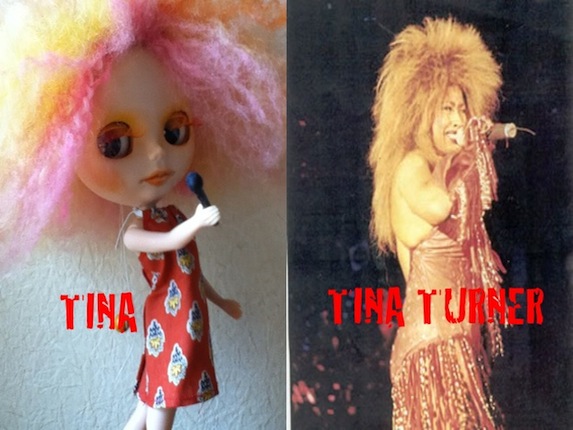
 Name : GaGa
Her name is ” GaGa”, It was named from Lady GaGa..lol Image was from hair color. Cutie GaGa is….Always Im very nervous for cut the head, I’m doing very carefully to not cut the face and damage to some parts. if you make some mistake, don’t worry about then, you can fix then 😉 but please, everything to doing for responsibility yourself, and therefore love:)
彼女の名前は”GaGa” Lady GaGa から命名しましたw 髪の毛の色のイメージというか、キューティーガガになりました:) いつも頭部を割る時は緊張するんですが、顔を切らないかとかどっかに傷つけたりしないかと。。。もし、そんなことになっても心配しないで、なんとなくなおせちゃうんで^^;でもカスタムするときはあくまでも自己責任で御願いします。そしてできあがったら、可愛がってあげてください。
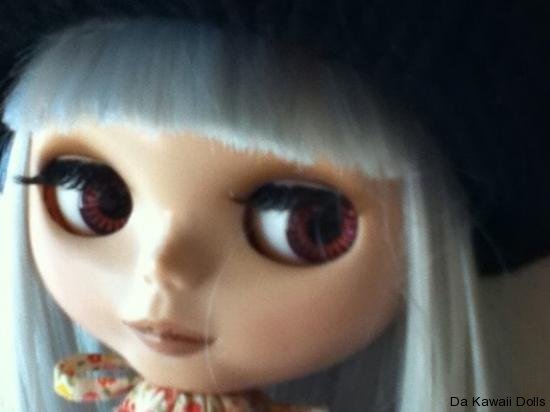
Piccadilly Dolly Encore
 Dismantling to this girl, name is Piccadilly Dolly Encore.
Resource : Excerent
Hair color : Brown
Eye color : Blue, Orange, Green, Pink, Cream
Release Date : 09/2002

 Cut the scalp on the forehead up side for 2-3 ㎜ with cutter knife and remove the scalp.
額から2、3㎜上くらいのところにカッターで切り込みをいれます。

 Cut from the crown in craft knife, lead to a next to the face. Remove the all screw and eye-gimmick.
頭頂部から顔の側面にむかってクラフト用ののこぎりで切っていきます。ネジを全部外して、アイギミックも外します。

 Screws and inside face.
ネジと顔の内側です。

 Remove the Eye-gimmick from the face with screwdriver.
アイギミックを外します。


Remove the eye-balls and screws from the eye-gimmic.
アイギミックから目と部品を外していきます.
 Soak the eye-lids and eye-balls in toot water, and melt to bond.
少し熱めのおゆにギミックをつけてボンドを溶かします。

 Attach the strong sticking tape(both side type) take off the contact lens.
両面テープをペンの後ろにつけコンタクトをはずします。

 Remove the contact lens.
コンタクトがとれました。

 Remove the All contact lens and place the hologram sheet to under the contact lens.
コンタクトの下側にホノグラムシートなどをはめてキラ目にします。

 Take off the scalp color use nail remover.
頭皮に付いている絵の具をネイルリムーバー等で拭き取ります。

 Remove the eye-lids and preparation to eyelash. Eyelash is selling in ¥100shop store.
瞼を取り、つけまつげを準備します。

 Put on the eyelash in side a eyelid with bond.
つけまつげを瞼に木工用ボンドなどでつけます。

 Painting to scalpe using acrylic paint, same color for hair. You can use airbrush or paint brush.
頭皮に使用する髪の毛と同じ色をペイントします。エアブラシで吹いても、筆で塗ってもOKです。

 Sewing the wefting on scalp, I using to wefting with 2 bunch over.
ウェフティングの髪の毛を縫い付けて行きます。今回は2束とちょっとをつかいました。

 Put on the contact lens and paint the eyelids with airbrush.
コンタクトをはめて、瞼にエアブラシでシャドーをいれます。

 Make up the face, eye-hole, cheek, and lip.
アイホールやチーク、リップをつけます。エアブラシと筆を使用。

 Reassemble the all parts.And scalp too, use bond, and let stand for half day until attached.
すべてのパーツを組み立て直します。頭皮の裏側にボンドをつけて固定します。

 Press the iron a low heat, and bands the some like a plastic film.
髪の毛が浮いてくるので当て布をして低温でアイロンをあてます。ビニールのバンドで前髪を固定(かなり長時間)でも未だに前髪は落ち着かずボンバーです。
Finish!